Showing posts with label Tutorial. Show all posts

Sunday, April 15, 2012

My house has a trampoline.

That's a lie. I have never owned a trampoline.

My April Stash Bee block has one though, and it makes me smile.

Stash Bee April 2012 House block 
I have to say that  this block was sort of experimental for me.  Stephanie asked us for "house" blocks and specified the size, and colors for the sky and grass. She gave us full creative reign on style and technique.

First I decided it was about time to face my intense, irrational fear of curves and put a nice rolling hill in there. Not bad for a curve newbie right?
 Please excuse the terrible I-sew-at-night-with-no-natural-light-cell-phone-quality photo. 

The last block I did was heavy on the piecing, so I decided to do some raw edge applique for this one. 
I'm always curious about other people's design process, so if you are curious, 
here is how I approached this block:

I found a simple house clipart image that I liked via a google image search. I right clicked, and saved the image to my computer.


I used Microsoft Word to scale it up to size and make it mirror image and traced each part onto the paper side of Heat n Bond.

Then I played around with the original image to test out a few color schemes.

Once I decided on my 'paint' scheme I dug through my scrap stash... and built a house!

I decided the lawn looked sad and empty so I added a trampoline. 


The other 'new to me' technique that I tried was using tear-away, self adhesive stabilizer behind the trampoline (where I had to stitch the 'legs').

House Block Details
It definitely won't be the last time I use that stuff! I was yanking pretty hard on it to do the free motion stitching on these smaller parts and didn't have any of the stretching/tension issues that I usually have.

So, overall it took me several hours (5? 6?) to complete from start to finish, mostly because I had to start and stop a few times. Over all though it was a very easy block, and I am really happy with the results.

If I didn't think it would take me a decade to finish, I would love to do a whole town's worth of little house blocks.

Stash Bee April 2012 House block
Block stats: 12.5 " square, background pieced, house/trees/trampoline are raw edge applique
Fabric: sky is Kona Bluebell, grass is Kona Green Tea, assorted stash scraps
Based on this clipart image: Coloring Pages

So how'd I do Stephanie? Does my house meet your building specs? ;)

Sunday, March 18, 2012

Tutorial: Bee Simple Block


You probably already know this, but online quilting bees are alot of fun. You get to try a bunch of different blocks, new techniques, meet new people, the works.   

One of the parts that I get so excited about is choosing a block for my bee-mates to sew.

I am always looking for blocks that are easy to cut in advance and are beginner friendly


This block fits the bill. 

Sure, it looks pretty tame.  But check out the digital quilt Sandy Kayser made from it.

Cool right?
Simple, modern, and looks harder than it is. Love it.

Wanna make one yourself? 
Or, better yet, wanna get your bee to make some for you? 

Here are the particulars-

I always give credit to where it is due- so you should know that this block is originally from a pattern from Quilt magazine June/July 2011 page 45, Deep Blue Seas by Nancy Rink. I am not taking credit for the block design. This tutorial is meant to be a helpful reference if you are making this block for personal use/bees. Because, let's face it. Most of us ignore the text directions and just look for photos anyway, right?
 

Materials:  For one 9” block (9.5” unfinished) 

 
1.      Place one Color 1 3x3” square and the Color 2 3x3” square right sides together. Line up edges.

2.      Sew along one edge, using a scant ¼” seam. (I recommend sewing off of a scrap, so that stitches on the edge don’t come loose)

 3.      Press the seam open.


 4.      Place the second Color 1 3x3” square right sides together to the Color 2 3x3” square. 
Line up edges.
*NOTE: If you are using a directional print, make sure the direction is the same on both sides

5.      Sew along one edge, using a scant ¼” seam. Press the seam open (not pictured). This is the center of the block.


6.      Place one of the long (3x8”) Color 1 pieces right sides together on to the pieced center.

7.      Sew along one edge, using a scant ¼” seam.

8.      Press the seam open.


 9.      You know what to do! Place the second long (3x8”) Color 1 piece right side together. 

10.  Sew along the edge using a scant ¼” seam (not pictured).  Press the seam open. You’re almost done!


11.  Now if you have been using a good scant ¼” seam you will have a little trimming to do before the last steps. We will be trimming to a perfect 8” square. This just makes it nice and neat in the end, and easier to add the sashing.  If you have used closer to a true ¼” seam, it should be exactly 8” square, and you can go to the next step.

To square my block to 8”, I place an 8.5” or 12.5” ruler on the block. Then Iine up the corner of the center square to near 2.75” and 5.25” along the diagonal (red arrows).  You can fudge it one way or the other to make sure you have at least 8” each direction, but this gives you a guide as far as where ‘center’ is.


12.  Sew the 2x8” sashing strip along the top (not along the long strip) using a scant ¼” seam.

13.  Press seam open


14.  Sew the 2x9.5” sashing strip along the side (along the long color 1 strip), using a scant ¼” seam.

15.  Press seam open

Flip you block over to the front, and enjoy your modern simple block!


Happy Sewing!


Wednesday, December 7, 2011

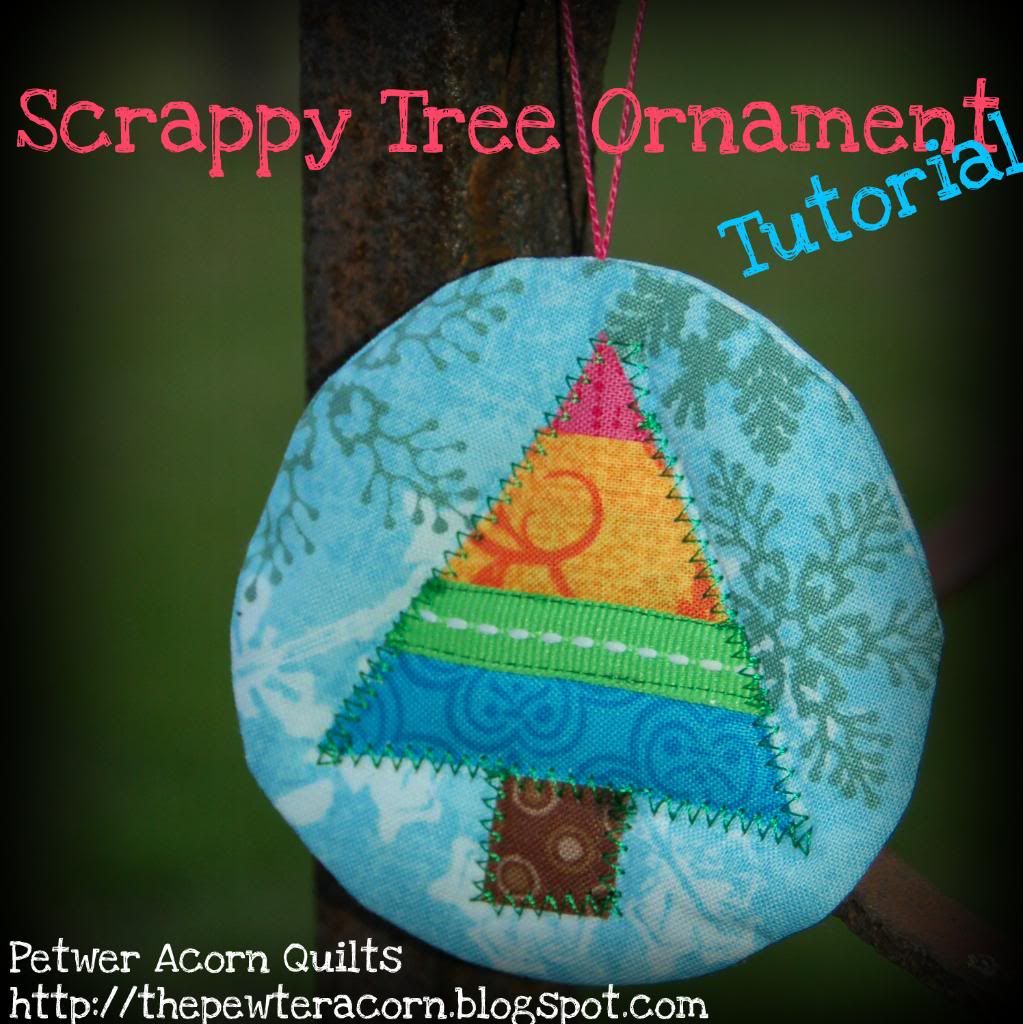
Tutorial: Scrappy Tree Ornament

I've done my best to give you a step by step picture tutorial, 
but this is my first tutorial, so speak up if you have questions or need clarification!

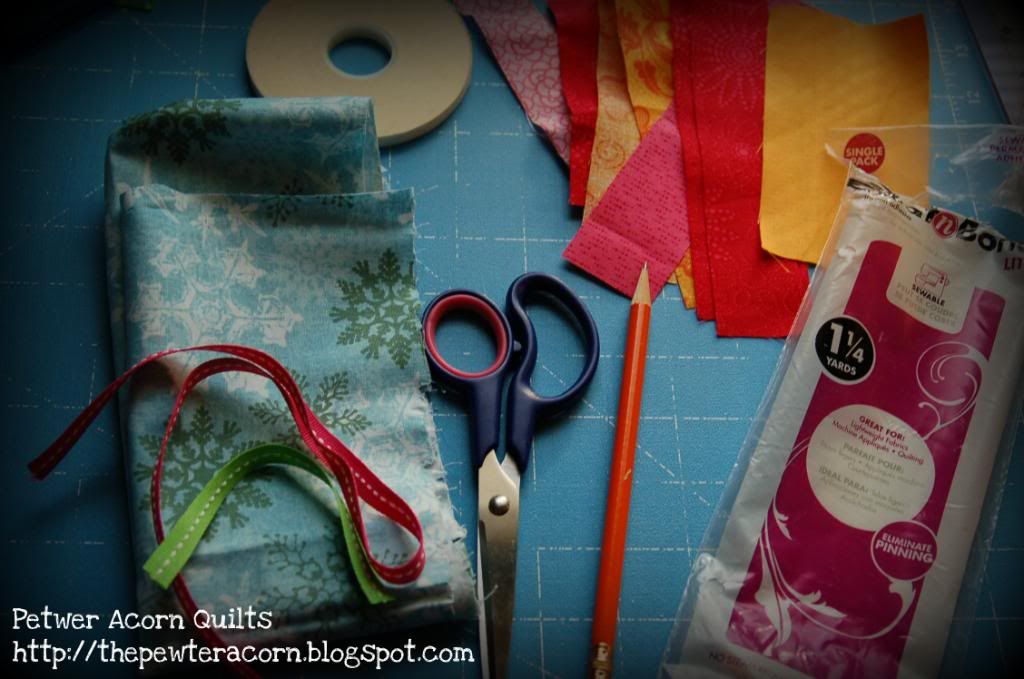
Here's what you'll need:
  • Background fabric (about 8x4 inches per per ornament)
  • Bright fabric scraps, in strips (generally 1-2 inches wide)
  • Ribbon, ricrac, ace, or trimming of choice (get resourceful here)
  • Regular Thread
  • Embroidery floss or thick thread (not pictured)
  • Poly fill (optional)
  • Random round thing to trace (I used a tape roll)
  • Fusible web (I used 'heat n bond')
  • Scissors
  • Pencil
  • Sewing machine
  • Iron
Ready to get started?!


Love this tutorial? Hate it? Don't get it? Let me know!  I'm always glad to get your feedback :)
If you've used this tute, take a moment to SHOW OFF!

Just leave a link to a picture of YOUR creation in the comments!

Spreading Christmas Cheer (A Tutorial for YOU)


A few weeks ago I sent my first swap parcel off.

It was for the 2011 Modern Christmas Tableruner Swap.

Not bad for a first time swapper, right?

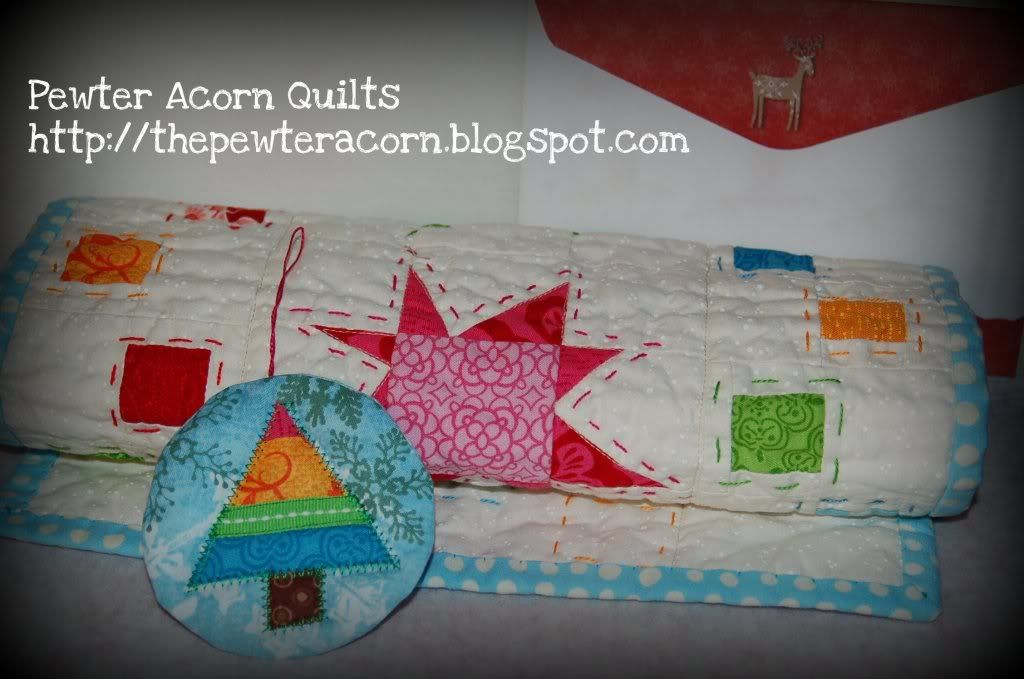
My partner loves scrappy trees, so that was the inspiration for the little extra I sent along.

Get this- It only takes about 15 minutes and some scraps to make! (and who doesn't have scraps?)
It's cute.
It's simple.
...and now it's broken down into a tutorial, just for you!