
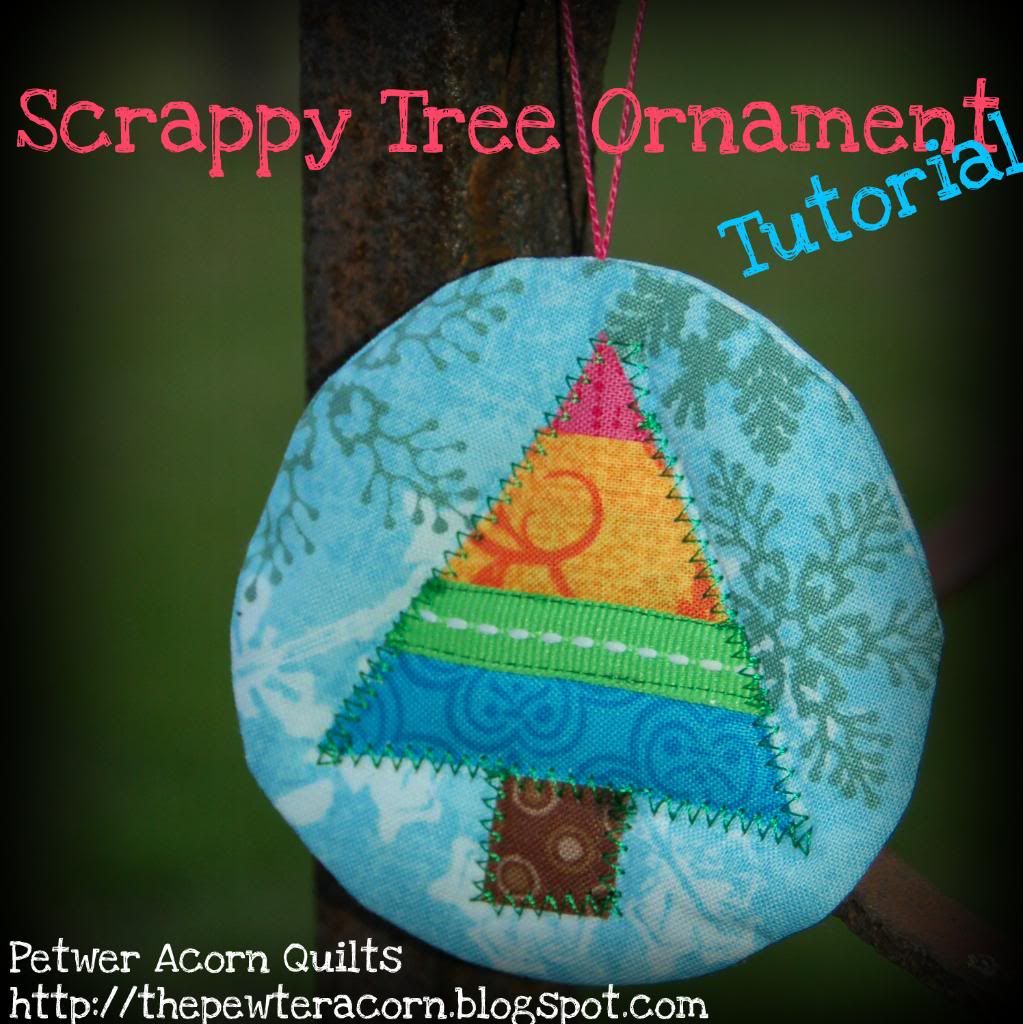
but this is my first tutorial, so speak up if you have questions or need clarification!
Here's what you'll need:

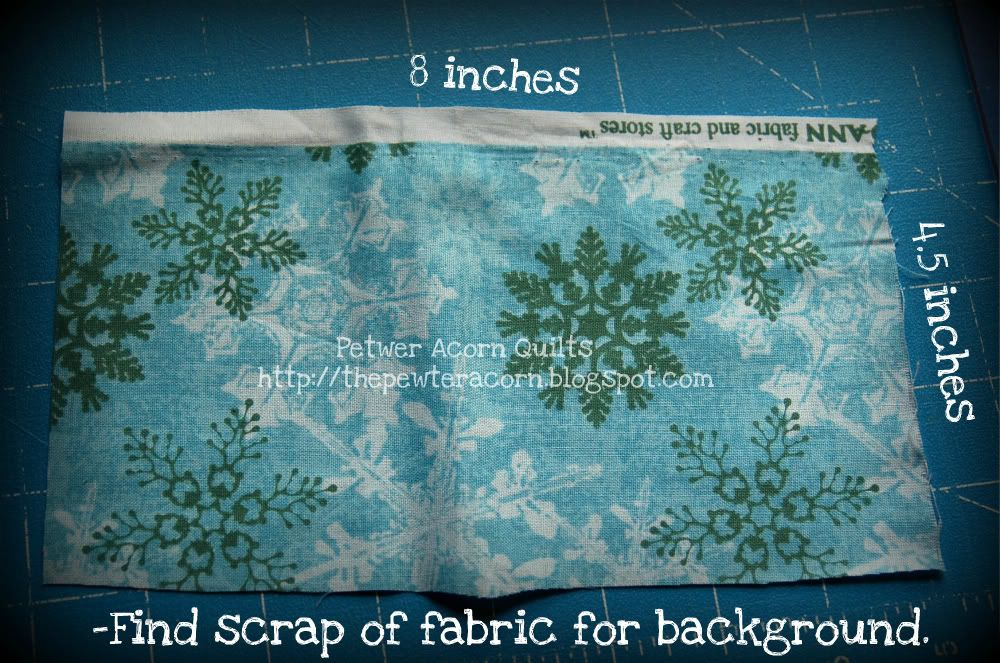
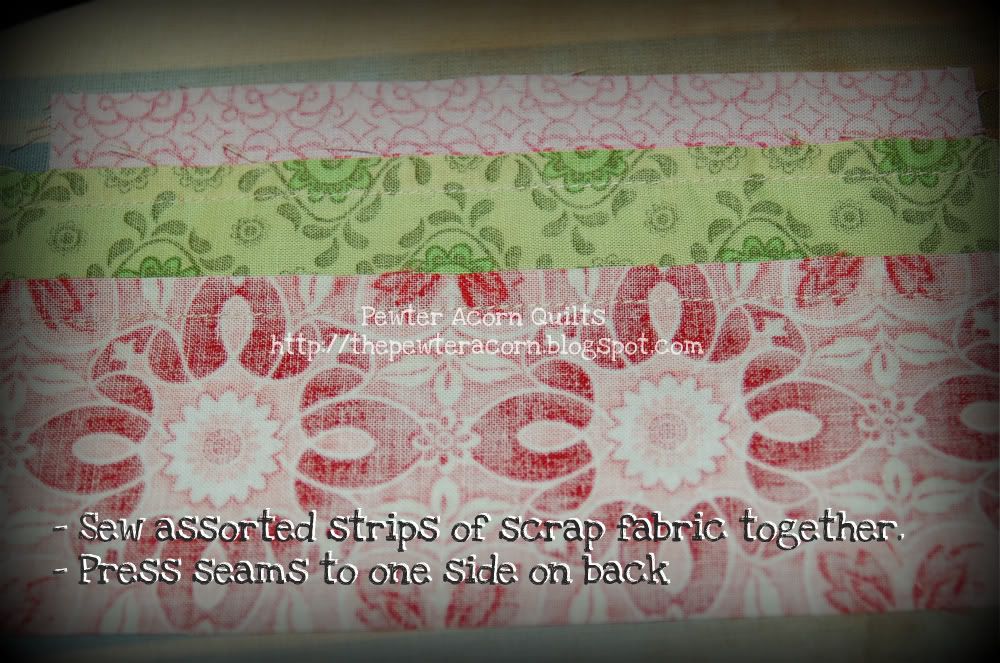
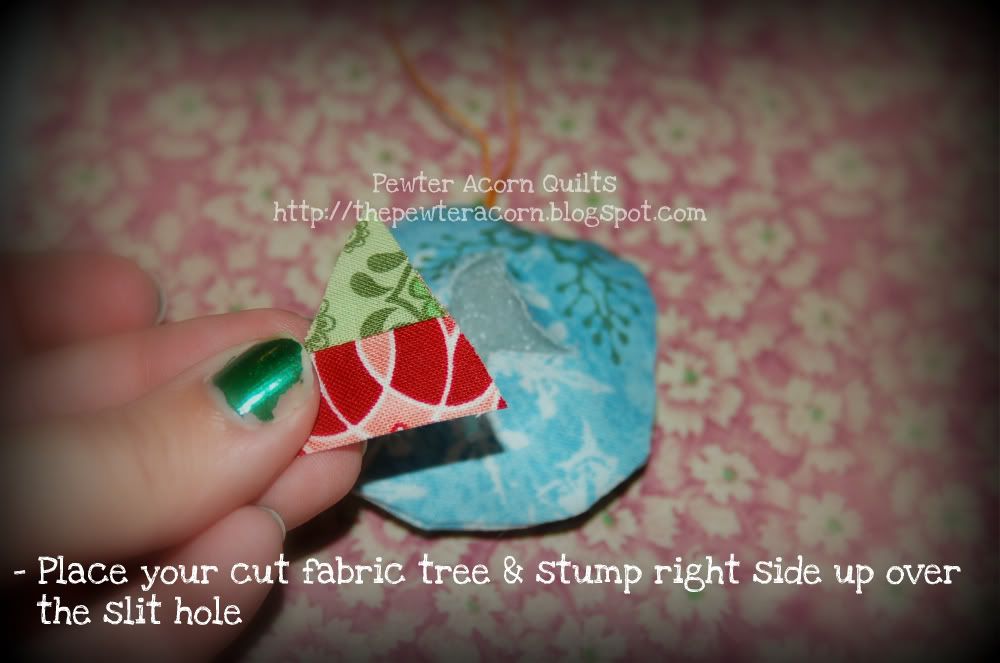
- Background fabric (about 8x4 inches per per ornament)
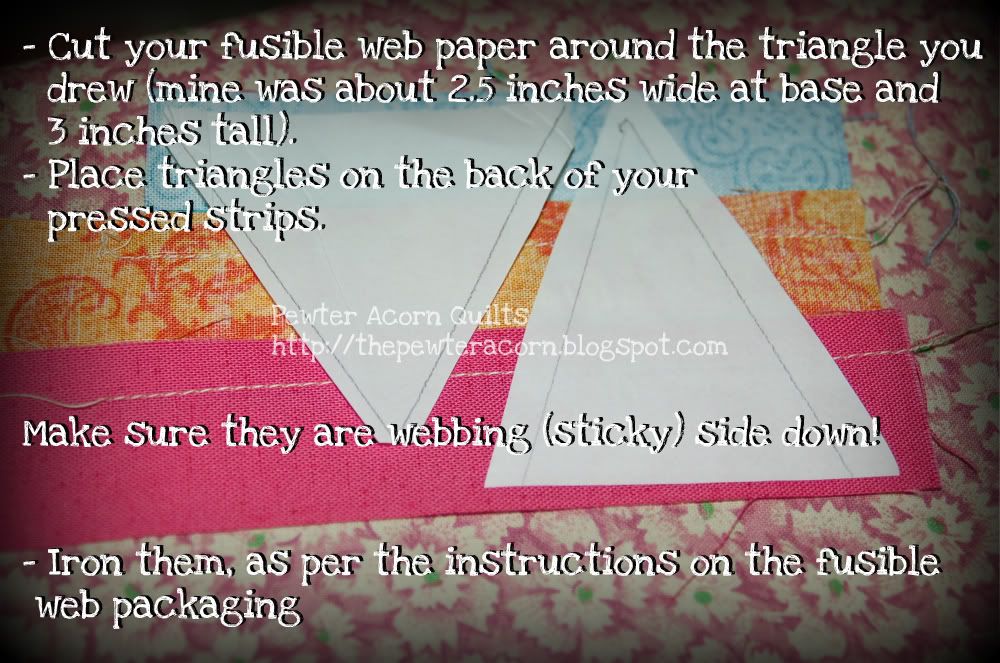
- Bright fabric scraps, in strips (generally 1-2 inches wide)
- Ribbon, ricrac, ace, or trimming of choice (get resourceful here)
- Regular Thread
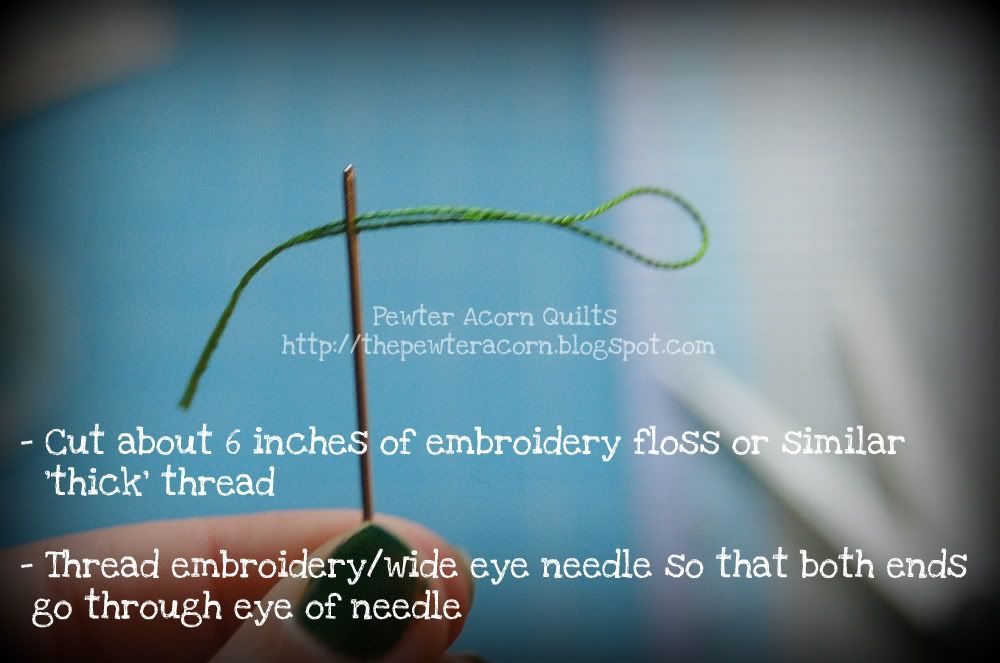
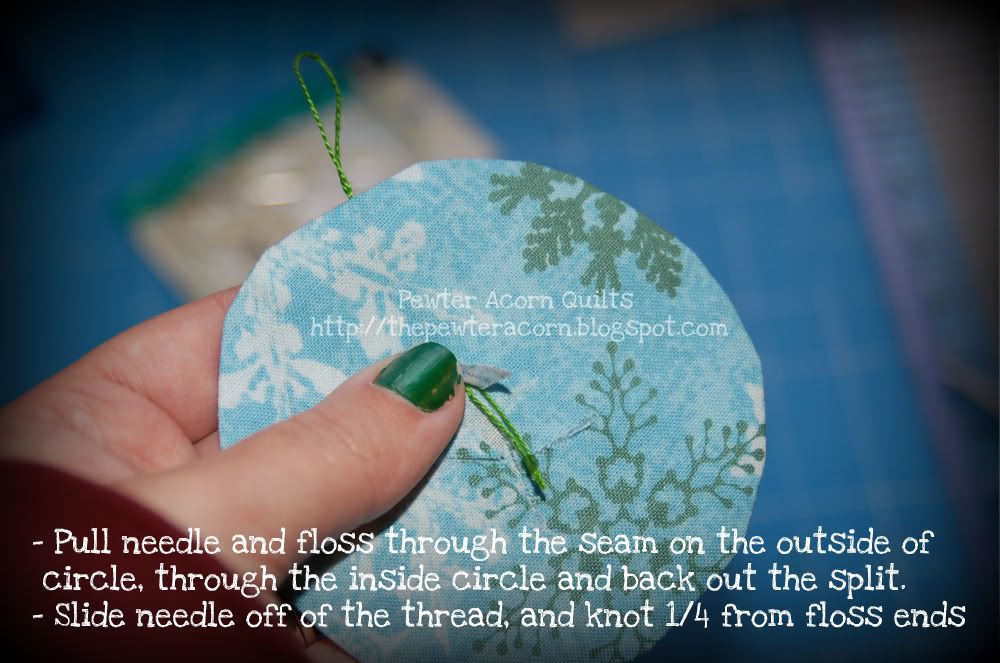
- Embroidery floss or thick thread (not pictured)
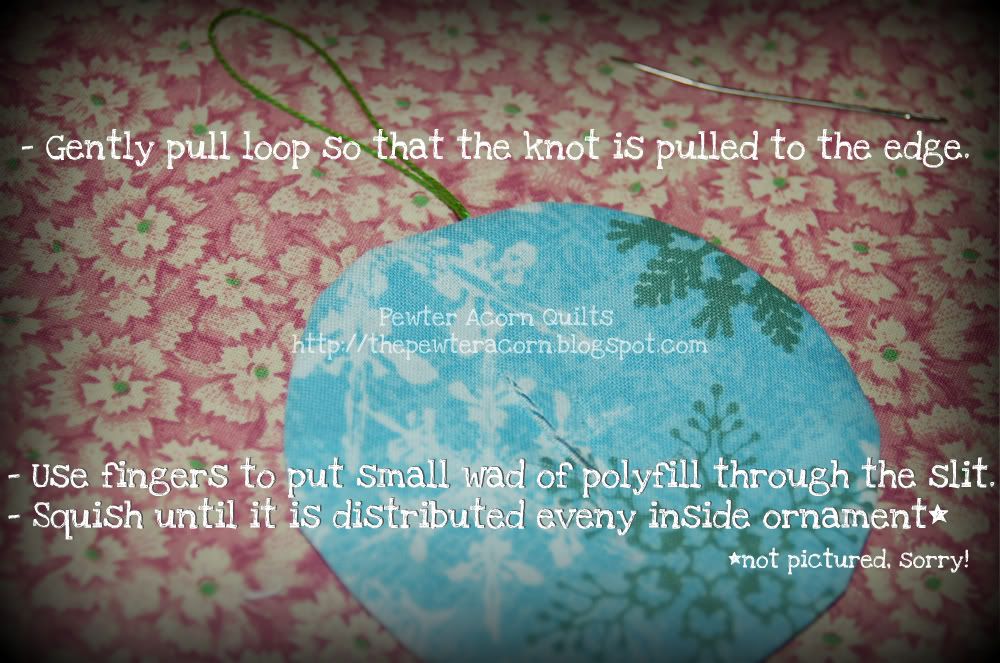
- Poly fill (optional)
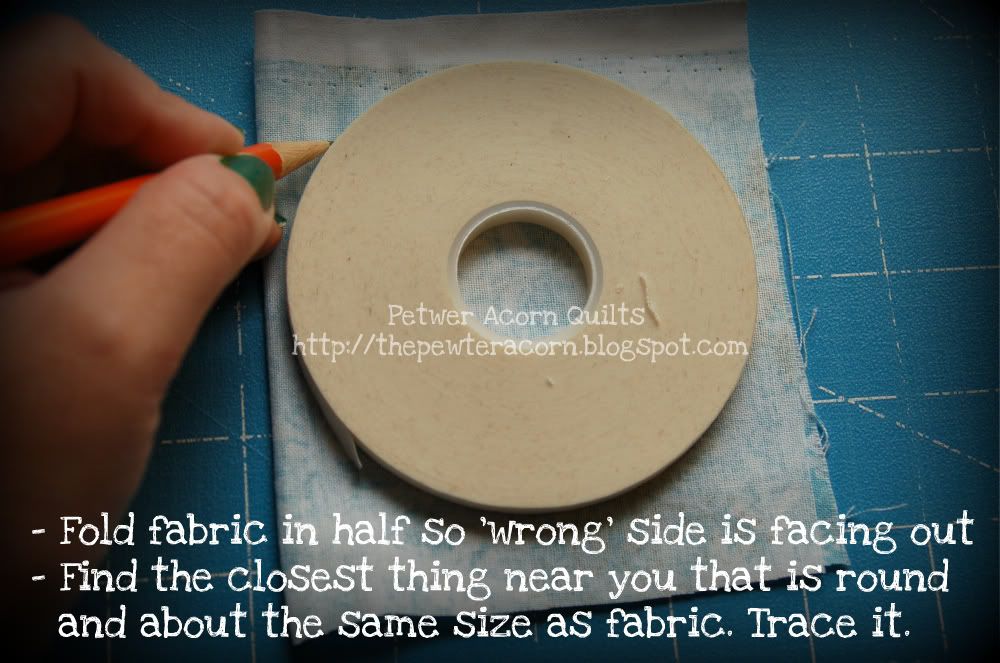
- Random round thing to trace (I used a tape roll)
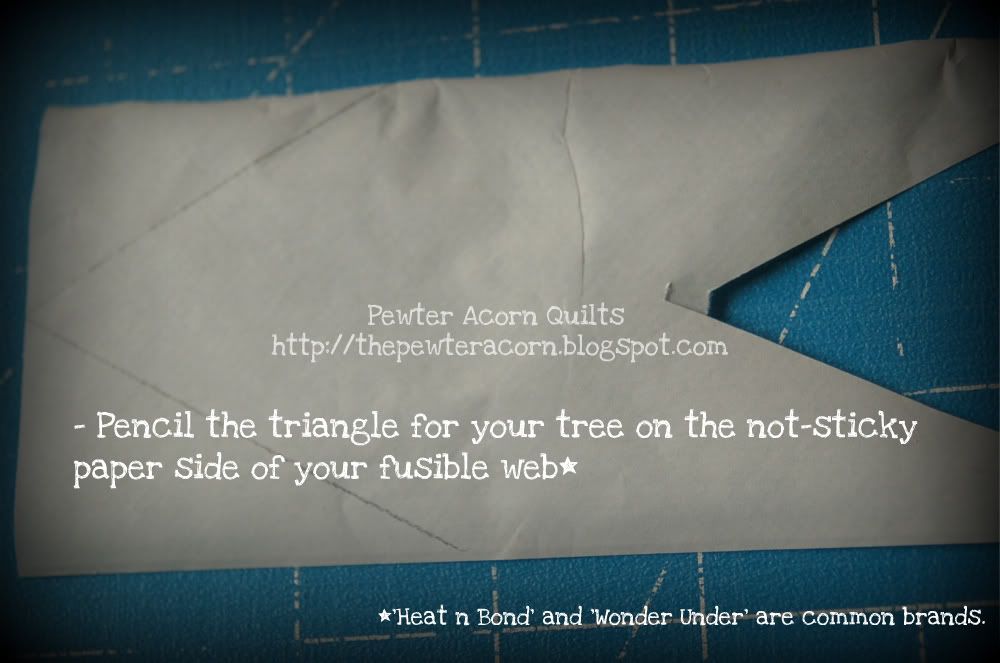
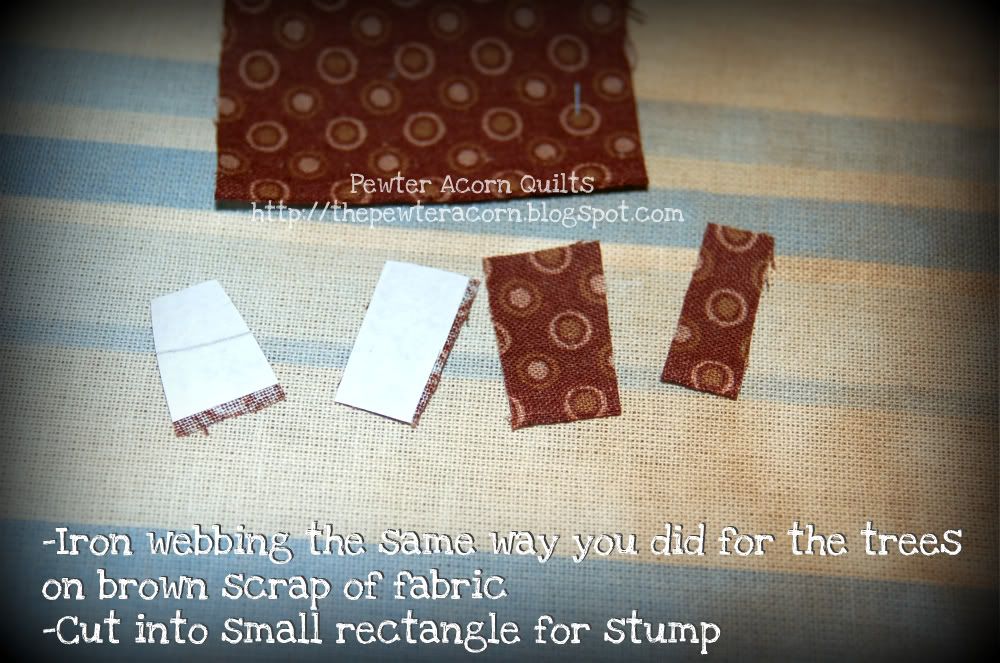
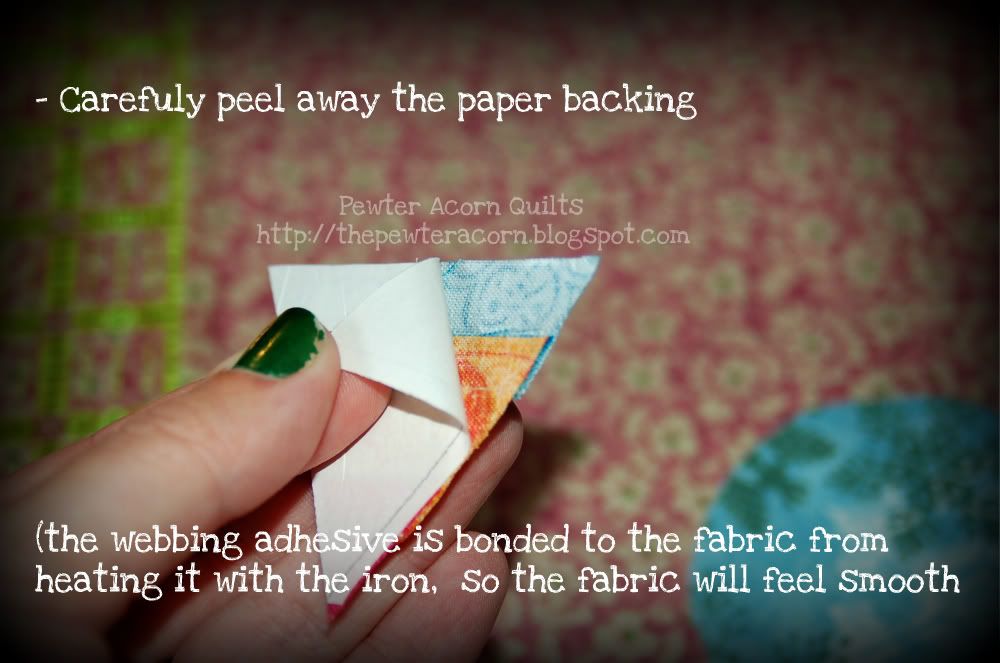
- Fusible web (I used 'heat n bond')
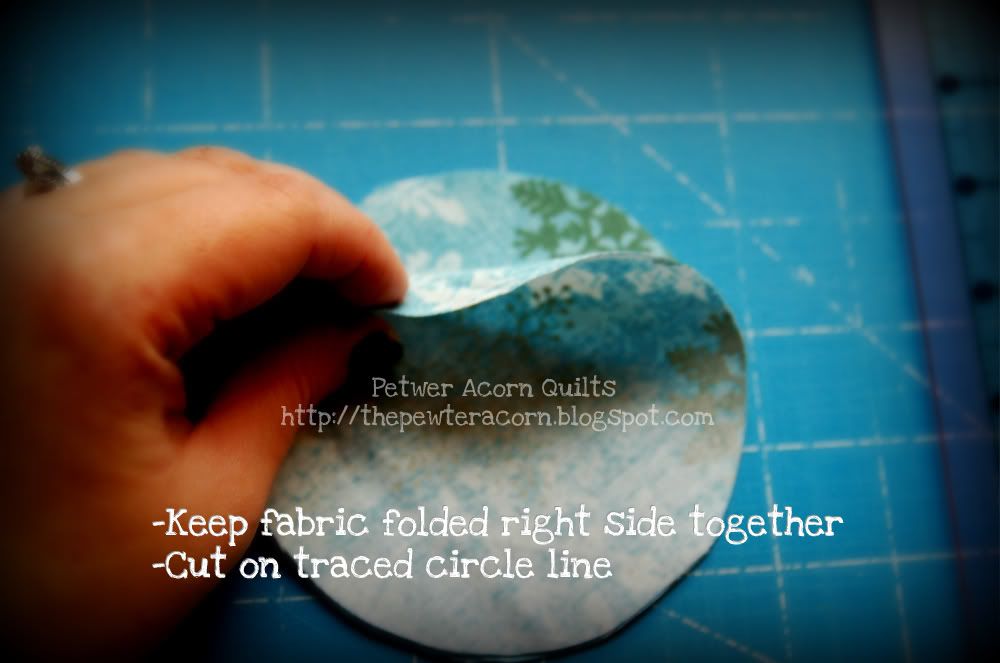
- Scissors
- Pencil
- Sewing machine
- Iron


Love this tutorial? Hate it? Don't get it? Let me know! I'm always glad to get your feedback :)
If you've used this tute, take a moment to SHOW OFF!
Just leave a link to a picture of YOUR creation in the comments!

What a great idea! I am going to make this over the weekend. I'll use it as an 'extra' on the gift tags for Christmas so they have a little ornament for their tree afer they open their present. This is so cute!
ReplyDeleteWhat a lovely idea, it will make a lovely christmas tree ornament.
ReplyDeletehttp://rashisquiltblog.blogspot.com/