Showing posts with label Quick n Easy. Show all posts

Sunday, March 18, 2012

Tutorial: Bee Simple Block


You probably already know this, but online quilting bees are alot of fun. You get to try a bunch of different blocks, new techniques, meet new people, the works.   

One of the parts that I get so excited about is choosing a block for my bee-mates to sew.

I am always looking for blocks that are easy to cut in advance and are beginner friendly


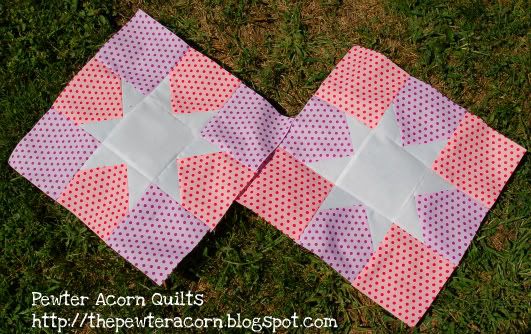
This block fits the bill. 

Sure, it looks pretty tame.  But check out the digital quilt Sandy Kayser made from it.

Cool right?
Simple, modern, and looks harder than it is. Love it.

Wanna make one yourself? 
Or, better yet, wanna get your bee to make some for you? 

Here are the particulars-

I always give credit to where it is due- so you should know that this block is originally from a pattern from Quilt magazine June/July 2011 page 45, Deep Blue Seas by Nancy Rink. I am not taking credit for the block design. This tutorial is meant to be a helpful reference if you are making this block for personal use/bees. Because, let's face it. Most of us ignore the text directions and just look for photos anyway, right?
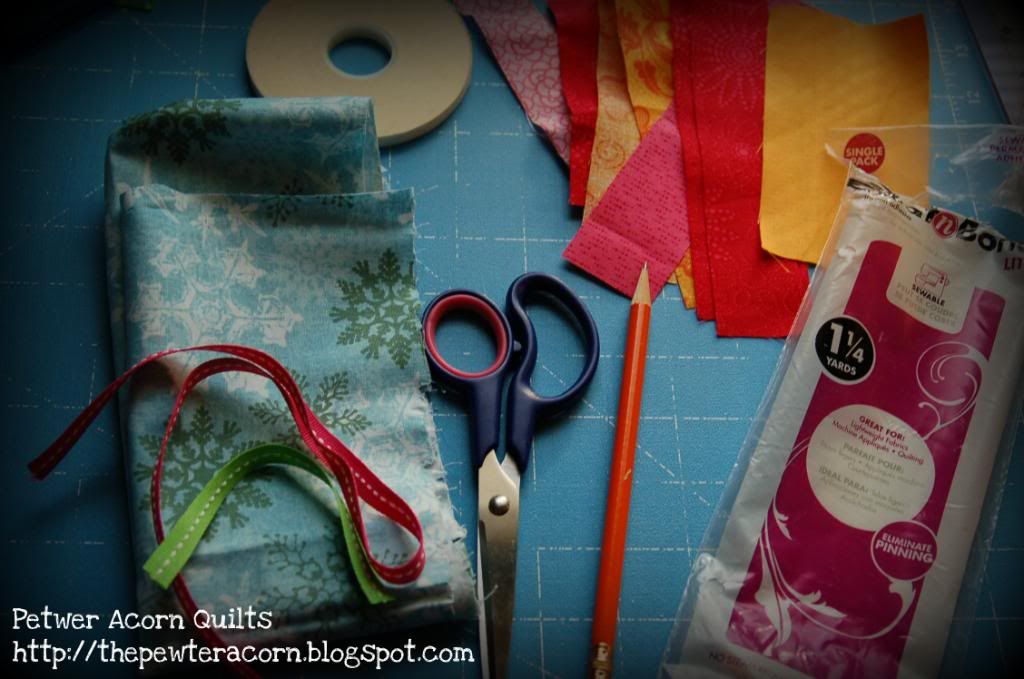
 

Materials:  For one 9” block (9.5” unfinished) 

 
1.      Place one Color 1 3x3” square and the Color 2 3x3” square right sides together. Line up edges.

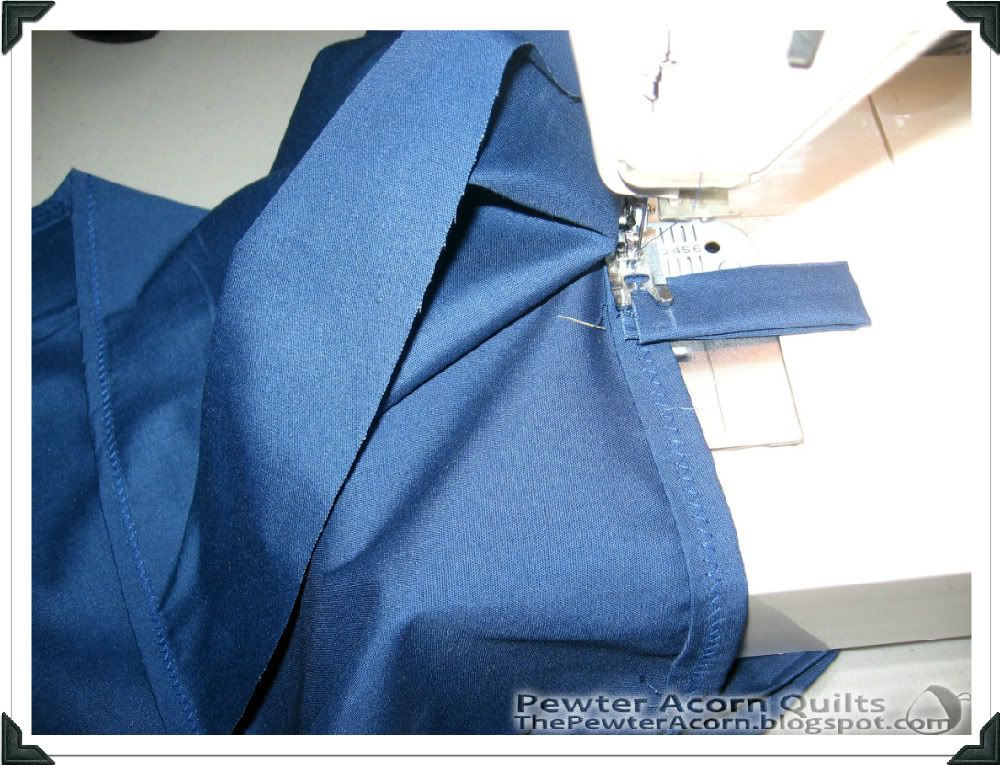
2.      Sew along one edge, using a scant ¼” seam. (I recommend sewing off of a scrap, so that stitches on the edge don’t come loose)

 3.      Press the seam open.


 4.      Place the second Color 1 3x3” square right sides together to the Color 2 3x3” square. 
Line up edges.
*NOTE: If you are using a directional print, make sure the direction is the same on both sides

5.      Sew along one edge, using a scant ¼” seam. Press the seam open (not pictured). This is the center of the block.


6.      Place one of the long (3x8”) Color 1 pieces right sides together on to the pieced center.

7.      Sew along one edge, using a scant ¼” seam.

8.      Press the seam open.


 9.      You know what to do! Place the second long (3x8”) Color 1 piece right side together. 

10.  Sew along the edge using a scant ¼” seam (not pictured).  Press the seam open. You’re almost done!


11.  Now if you have been using a good scant ¼” seam you will have a little trimming to do before the last steps. We will be trimming to a perfect 8” square. This just makes it nice and neat in the end, and easier to add the sashing.  If you have used closer to a true ¼” seam, it should be exactly 8” square, and you can go to the next step.

To square my block to 8”, I place an 8.5” or 12.5” ruler on the block. Then Iine up the corner of the center square to near 2.75” and 5.25” along the diagonal (red arrows).  You can fudge it one way or the other to make sure you have at least 8” each direction, but this gives you a guide as far as where ‘center’ is.


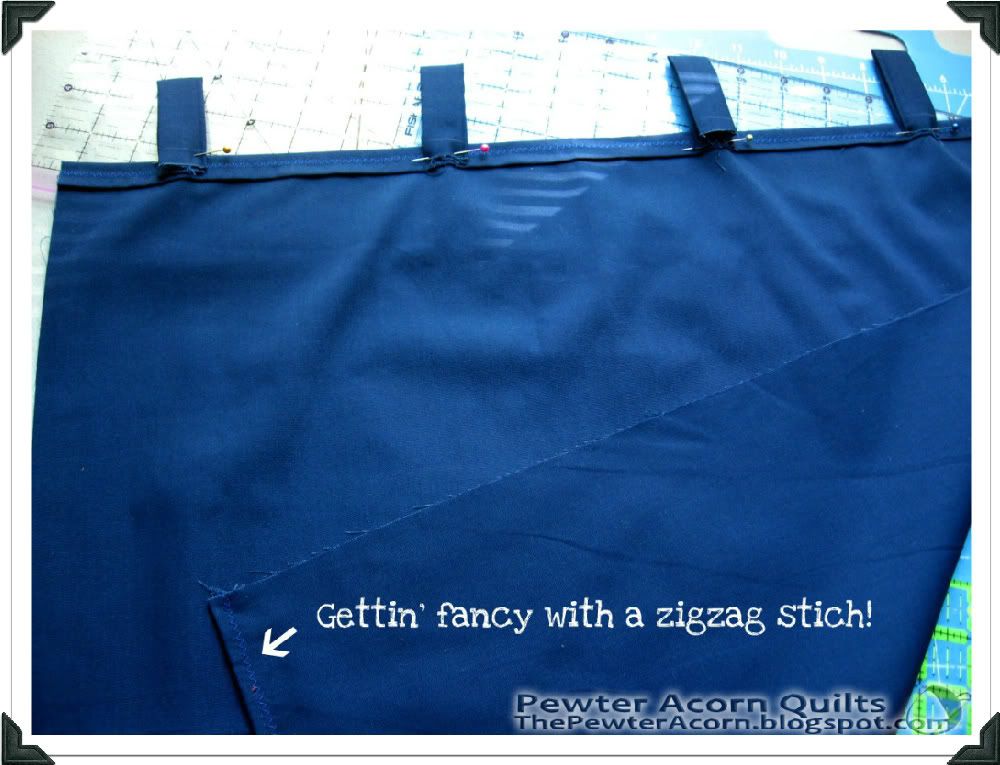
12.  Sew the 2x8” sashing strip along the top (not along the long strip) using a scant ¼” seam.
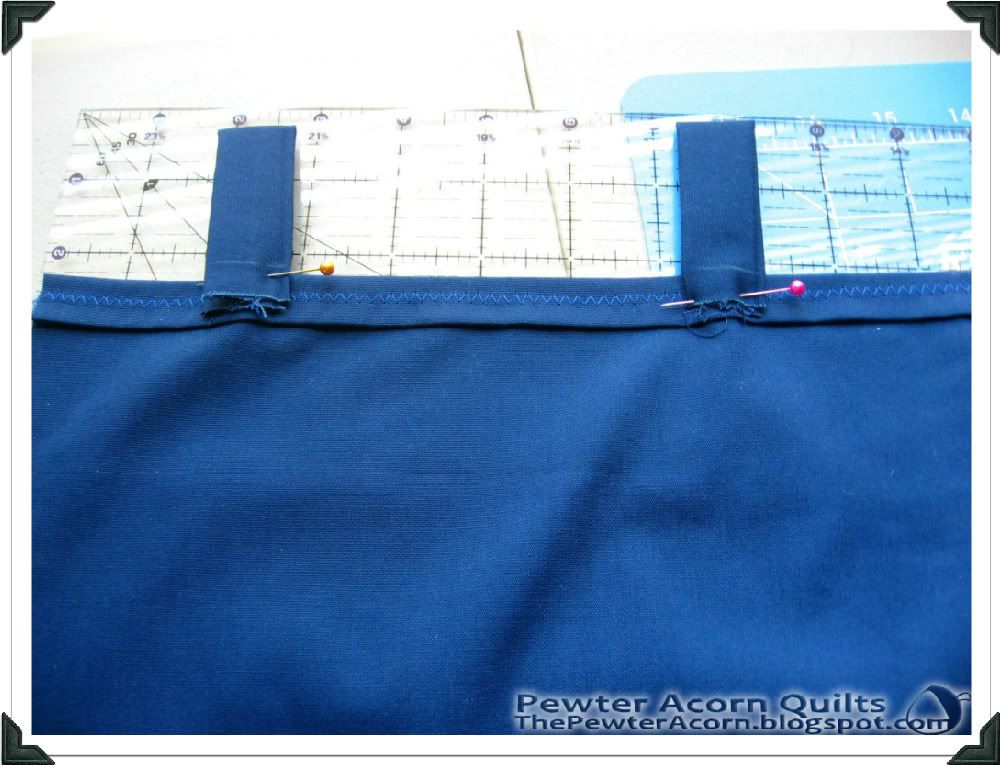
13.  Press seam open


14.  Sew the 2x9.5” sashing strip along the side (along the long color 1 strip), using a scant ¼” seam.

15.  Press seam open

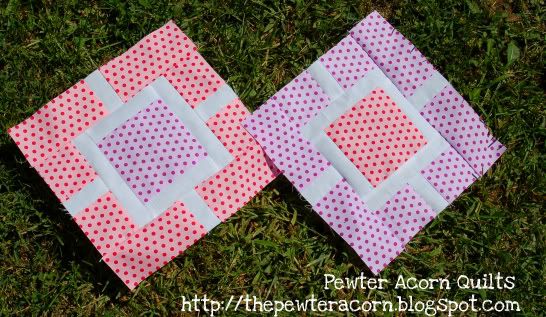
Flip you block over to the front, and enjoy your modern simple block!


Happy Sewing!


Wednesday, December 7, 2011

Tutorial: Scrappy Tree Ornament

I've done my best to give you a step by step picture tutorial, 
but this is my first tutorial, so speak up if you have questions or need clarification!

Here's what you'll need:
  • Background fabric (about 8x4 inches per per ornament)
  • Bright fabric scraps, in strips (generally 1-2 inches wide)
  • Ribbon, ricrac, ace, or trimming of choice (get resourceful here)
  • Regular Thread
  • Embroidery floss or thick thread (not pictured)
  • Poly fill (optional)
  • Random round thing to trace (I used a tape roll)
  • Fusible web (I used 'heat n bond')
  • Scissors
  • Pencil
  • Sewing machine
  • Iron
Ready to get started?!


Love this tutorial? Hate it? Don't get it? Let me know!  I'm always glad to get your feedback :)
If you've used this tute, take a moment to SHOW OFF!

Just leave a link to a picture of YOUR creation in the comments!

Spreading Christmas Cheer (A Tutorial for YOU)


A few weeks ago I sent my first swap parcel off.

It was for the 2011 Modern Christmas Tableruner Swap.

Not bad for a first time swapper, right?

My partner loves scrappy trees, so that was the inspiration for the little extra I sent along.

Get this- It only takes about 15 minutes and some scraps to make! (and who doesn't have scraps?)
It's cute.
It's simple.
...and now it's broken down into a tutorial, just for you!


Wednesday, October 19, 2011

WIP Wednesday 10/19/2011 (a skills WIP)


Instead of doing a run down of all my WIPs this week, I’m taking a look at my one little project.

This scrappy Halloween mug rug.

First of all, I can see now why people love mug rugs. 
These things really are fun to make!!


rawrr....crappy cell phone photo :/

 I made this little guy with scraps from the Hexi-Web project, and I already have a second one in the works.

The fact that I can brush up on my binding and quilting skills is not a bad thing either.  In fact that is the inspiration for this week’s spin on WIPS – My skills are always a work in progress!

Let’s take a look at how my techniques have progressed this week:

What I made progress on:


Quilting- eyeballed it and made the web off center

Binding on back- Hand sewn! This is the first time I’ve done binding by hand, I usually go for the quicker machine techniques. From start to finish I definitely got a lot more consistent and small stitches, yay! I don’t know if I’m quite ready to do this on a large project, but I am certainly more open to it before.

Mitered corners on front- used this technique from Crazy Mom Quilts.


Need to work on:

Quilting- Had some evil bunching issues, time to dig that walking foot out?

Mitering corners on the back- No 2 look the same, and none are particularly good. 
Anyone have any tricks for this?

Basic math- Measure twice cut once, especially on binding. See the orange and green bits of the binding? Ya. Lesson Learned.

I think a lot of times we get wrapped up in how many projects we can juggle and how many ‘finishes’ we can reach. It’s important (for me at least) but put that tally down once in a while and embrace the process. I really feel like I did that one this small project. The best part, is that seeing those little success in advances in my skills motivates me to keep sewing more than any deadline can.

Watch out! I’m on a roll!

Friday, August 26, 2011

Friday Friday, so good to me


This will be a quickie update on a quickie project.

I love polka dots. They make me smile.  They were my immediate choice for my blocks for Sarah.
Don't remember Sarah's request for help? Click here to read it.


 I finished these up this morning! I'm not sure how much more sewing I'll get to today so at least these pretties are leaving me feeling good for the day :)

I think they turned out alright, considering I have never done either block.


The tutorials/patterns were easy to follow and I am hoping that Sarah (and more importantly the girls) like them.

II am sending 'em off with lots of good karma and warm fuzzies.

Do you like quickie projects as much as me?

Monday, August 1, 2011

I.O.U 2 Basement Curtains

Back in December I played a little round of bumper cars while visiting family in New Jersey.

Hubs was wonderful and promptly began putting the pieces back together for me. He's a mechanical repair genius, but can only do so much on the gravel patch we call a driveway.  Enter my Uncle.. who let us invade his warm, dry, garage for the repairs.

How could we ever repay him?
Well, for a start, he's alluded to needing some simple basement curtains.

I picked up some blue cotton remnant fabric.  The plan is to make a giant tube, slice and dice it to make 8 loops, and just hem around two   24x22 rectangles.
Seems straight forward enough, right?


Here's a close up of the  loops...
See the white lines near the bottom of the loops? I measured and marked the loops 2.5"  from the fold, to make sure they hung the same distance down from the curtain rod. Yay for thinking ahead!!


It's going together quickly when I am working on it, but I'm not a fan ironing in this heat, so I've stepped away from it a few times. So far, I've turned the top and bottom hems and have started putting loops on.


My goal is to get it done by Wednesday, so I can bring them to their new home on Thursday!
 _____________________________

Edited: This is a finished project and the recipient was pleased.